Week 14
Setup for Ch. 6
Create a cs100/ch6 folder and save to it the following: wooster-img.jpg.
You will need the cImage module. To install it, in Thonny select the option Tools -> Manage Packages. Search for cImage with that exact capitalization. Click Install. Close and reopen Thonny.
To check that your installation was successful, create a file called setup.py saved to your cs100/ch6 folder (same location as the image you saved). Copy and paste the following code:
from image import *

myWindow = ImageWin(600, 400, "My Awesome Window")
img = FileImage("wooster-img.jpg")
img.draw(myWindow)
Run it and you should see the image in a new screen.
Notable differences (compared to book)
- The module name to import is image, not cImage.
- The function signature to create a window is ImageWin(widthNum, heightNum, nameOfWindowString)
- An EmptyImage has white pixels by default
No submission is necessary for this part. Just make sure that your program runs correctly to check that the module was installed, because you will need it for the remaining in-class activities.
Activity: More image manipulation 🎨
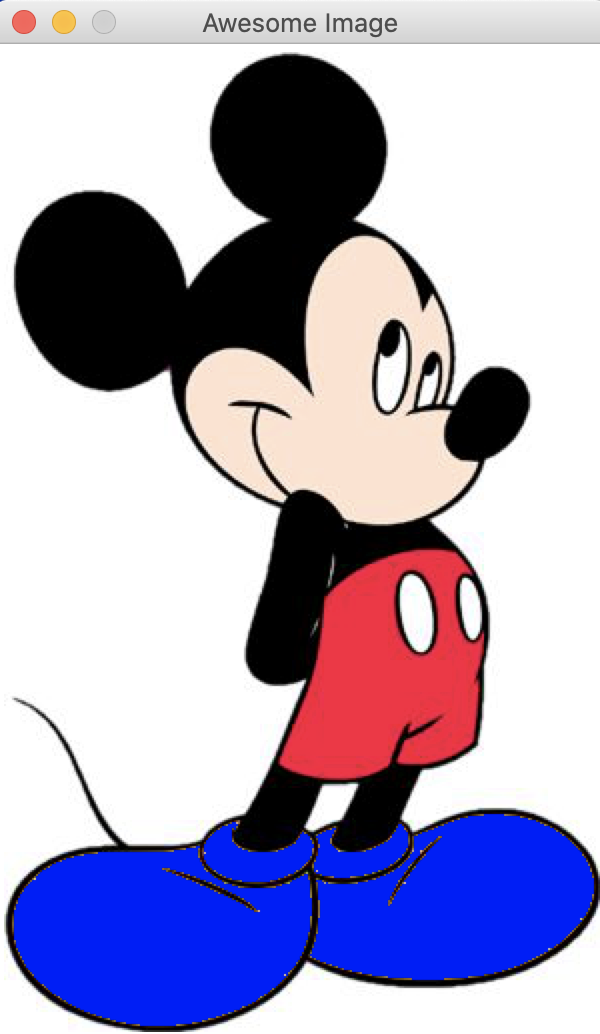
Create a file called mouse.py and save it to your cs100/ch6 folder. Save the following images to the same location with the name: lutherbell.gif and mickey.jpg.
- Copy the following code to your python file:
from image import *

# get image
img = FileImage("lutherbell.gif")
width = img.getWidth()
height = img.getHeight()

# create window
myWin = ImageWin(width, height, "Awesome Image")

# display image on window
img.draw(myWin)

# print out RGB values of pixel based on where mouse clicks
x,y = myWin.getMouse()
p = img.getPixel(x,y)
print("Pixel values: ", p.getRed(), p.getGreen(), p.getBlue())

# exit window when user clicks on any part of it
myWin.exitOnClick()
Modify the script to display the Mickey Mouse picture.
Display Mickey with blue shoes instead of yellow ones. Hint: go through each pixel using two nested for loops, and compare how close it is to the color yellow. Click on a pixel to see what its RGB value is. Note that some yellows vary a bit in RGB values, so you’ll need to play with what it means for a pixel color to be ‘close enough’ to yellow. It will look like the following when this step is complete:

Modify the script to display Mickey with purple shorts instead of a red ones.
If you finish early
- Write a function
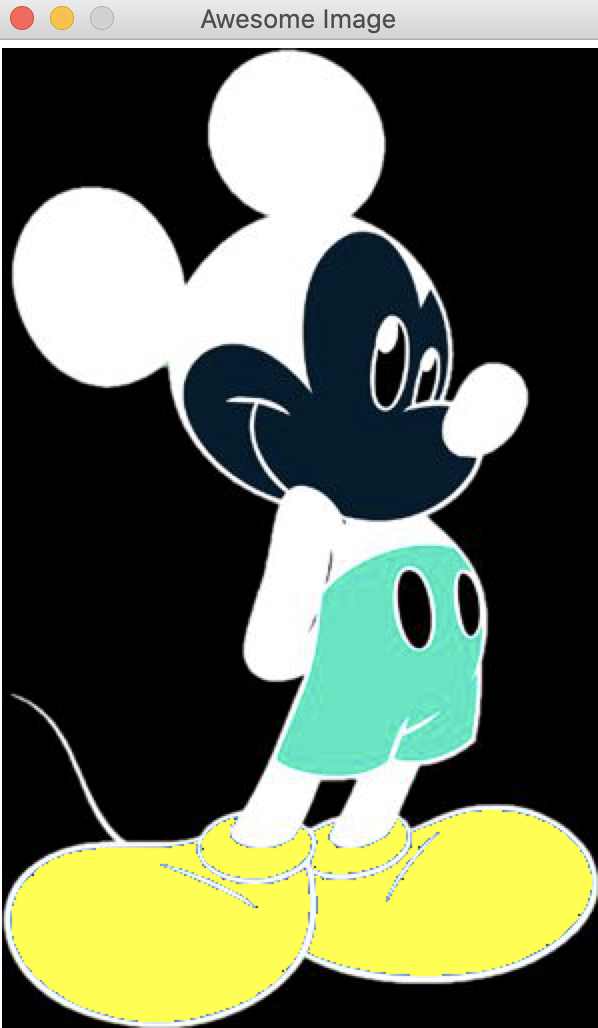
negative(p)that receives a pixel and returns its corresponding negative pixel. For example, given a pixel with old values R’, G’, and B’, the negated pixel will have values:
- R = 255 - R’
- G = 255 - G’
- B = 255 - B’
Then use this function to create the negative picture of your Mickey Mouse. It will look like the following when this step is complete:

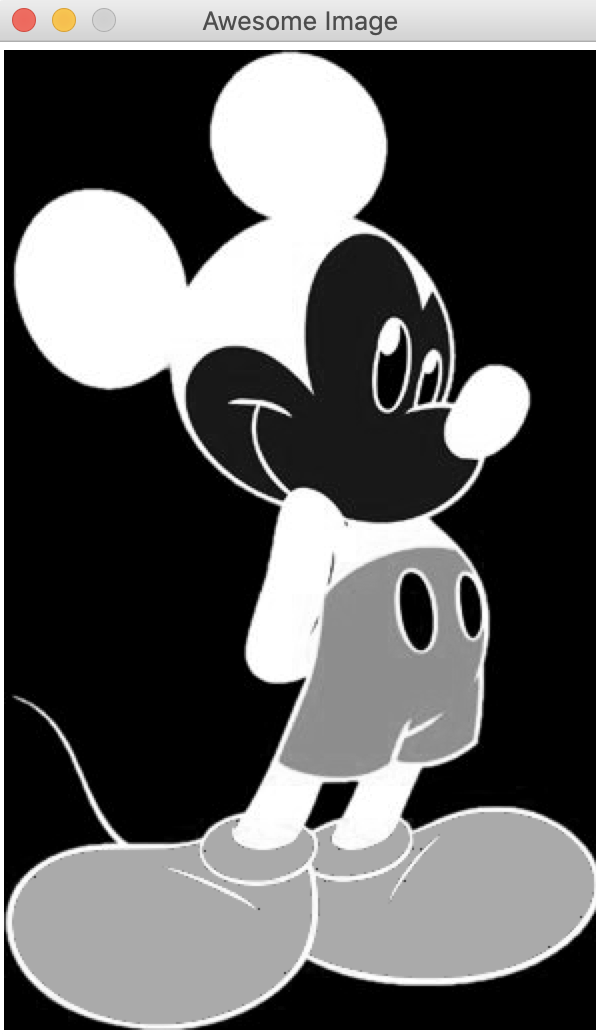
Using similar code as in the previous step, create a gray scale image of your Mickey Mouse. The greyscale pixel will use a value x as the red, green, and blue values, where x is an average of the original RGB values.
It will look like the following when this step is complete:

How to submit
Submit your working mouse.py to Moodle AND INCLUDE THE IMAGE YOU USED.