Activity: More image manipulation 🎨
Complete the setup to install the cImage module and read some key differences based on the latest updates to the module.
Create a file called mouse.py and save it to your cs100/ch6 folder. Save the following images to the same location with the name: lutherbell.gif and mickey.jpg.
- Copy the following code to your python file:
from image import * # get image img = FileImage("lutherbell.gif") width = img.getWidth() height = img.getHeight() # create window myWin = ImageWin(width, height, "Awesome Image") # display image on window img.draw(myWin) # print out RGB values of pixel based on where mouse clicks x,y = myWin.getMouse() p = img.getPixel(x,y) print("Pixel values: ", p.getRed(), p.getGreen(), p.getBlue()) # exit window when user clicks on any part of it myWin.exitOnClick() -
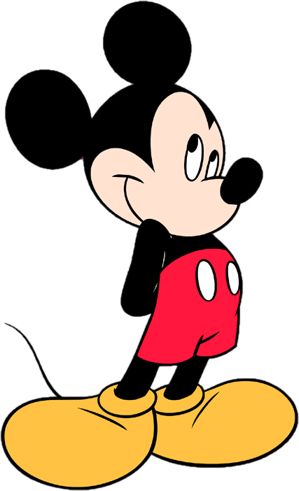
Modify the script to display the Mickey Mouse picture.
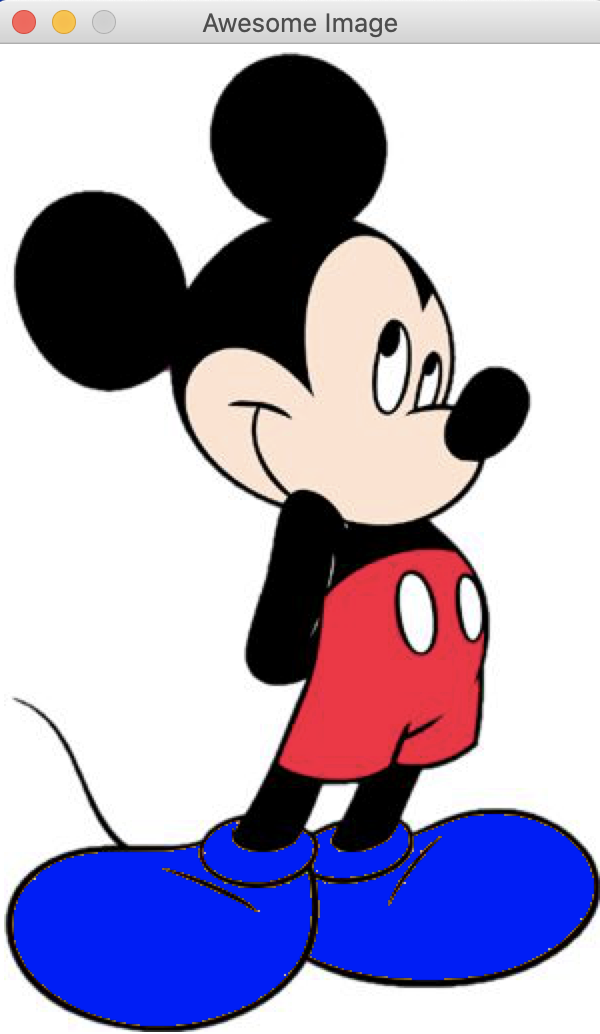
- Display Mickey with blue shoes instead of yellow ones. Hint: go through each pixel using two nested for loops, and compare how close it is to the color yellow. Click on a pixel to see what its RGB value is. Note that some yellows vary a bit in RGB values, so you’ll need to play with what it means for a pixel color to be ‘close enough’ to yellow. It will look like the following when this step is complete:
- Modify the script to display Mickey with purple shorts instead of a red ones.
If you finish early
- Write a function
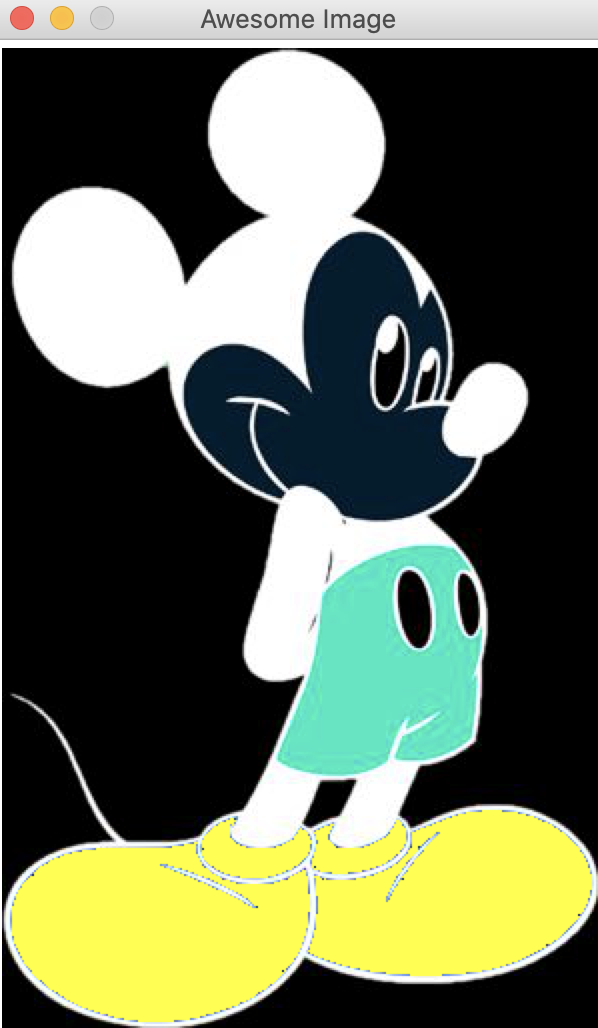
negative(p)that receives a pixel and returns its corresponding negative pixel. For example, given a pixel with old values R’, G’, and B’, the negated pixel will have values:- R = 255 - R’
- G = 255 - G’
- B = 255 - B’
Then use this function to create the negative picture of your Mickey Mouse. It will look like the following when this step is complete:
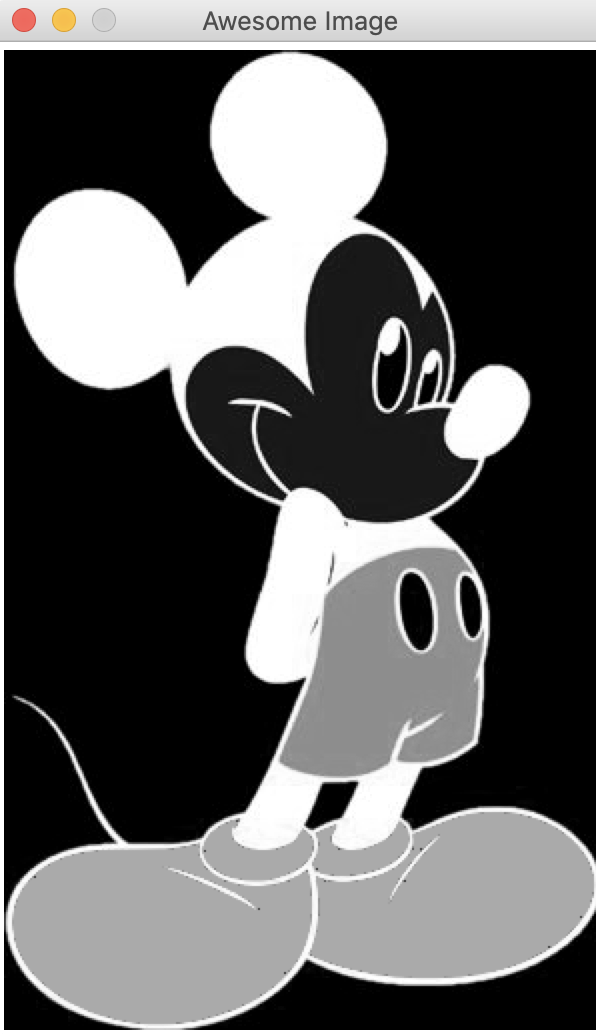
- Using similar code as in the previous step, create a gray scale image of your Mickey Mouse. The greyscale pixel will use a value
xas the red, green, and blue values, wherexis an average of the original RGB values.
It will look like the following when this step is complete:
- Work on your final project with your group.
How to submit
Submit your working mouse.py to Moodle AND INCLUDE THE IMAGE YOU USED.